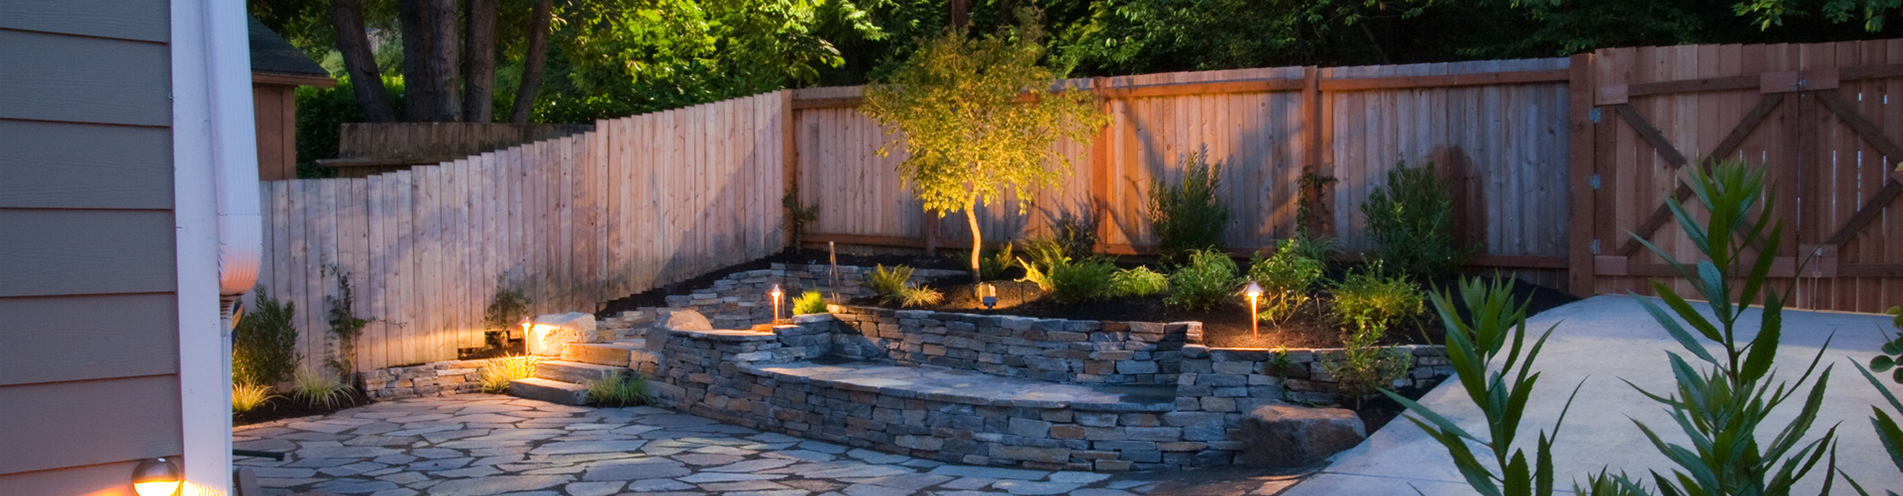
Installing fence posts is one of the most important steps in your build — it ensures the fence stays stable and strong throughout every wind, rain and snowstorm.
Since the integrity of your fence is determined by post placement and method, it’s vital to know the do’s and don’ts of installing fence posts. We’ve outlined our best practices for you to review before you begin.
Don’t Eyeball It
You may think you know where your property line is. But do you really?
It’s best to use an official survey of your lot versus where you think the line is. If your neighbor complains and can show your fence crosses the boundary, you may need to take it down and start over. It’s a waste of your time and money, and a huge frustration.
It’s worth it to double check both your lot documentation and clear the build with your neighbor prior to your investment.
Also, don’t just “eyeball” the post placement. It would be unfortunate to misjudge how far apart each post should go and wind up with weaker fencing than you would like. Take measurements and plot where to put each post — especially the corner posts — before you dig the first hole.
The last important reason to check your plot blueprint: to avoid utility lines. When you’re digging post holes, you want to avoid electric, water and gas lines at all costs. Preparation is key to saving you from a fence installation disaster.
Know Local Ordinances
Some towns have fence building codes that dictate how deep each post’s installation hole must go for the fence to be stable. The best place to find out if your town has regulations like this is to call the building office — the same place you’d go for a fence permit. All their restrictions should be clearly listed online or on the fence permit application documentation.
Dig Below the Frost Line
Even if your town doesn’t regulate fence post installation depth, it’s best to dig below the frost line for the utmost post stability. It’s better to go deeper than you have to to avoid fence weakness later on. This means you’ll probably have to dig to 2½ to 3 feet down.
Lay Gravel on the Bottom
You should pour a layer of gravel in the bottom of the post hole if you are digging in dense, clay-like soil. It will help with water drainage and make the fence more resistant to frost heaves. After you add the gravel, put in the post and then fill the space around it with more gravel, tamping it down as you go.
Use Concrete if Needed
If you’re digging in sandy soil, gravel won’t work as well as a stabilizer. In this case, concrete is your best bet for anchoring fence posts in place. You will still need to pour some gravel in the bottom of the hole, but then fill the rest with concrete. Wait until it has cured for a few days before continuing the building process.
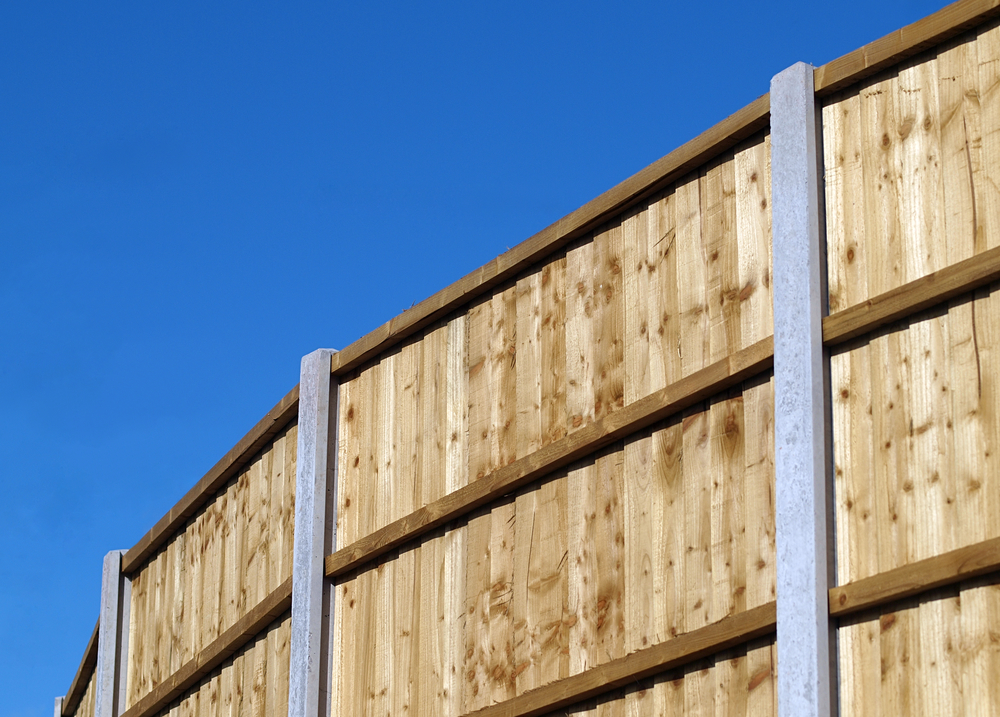
Depend on a Level
Always use a level to make sure fence posts are even — it’s a foolproof way to ensure you’re ready to move on to the next step in your fence project: installing rails.
Trust Utah Fence Warehouse for the hands-on direction you need when installing fence posts. We are here to help.
- Fence Post Spacing: Specific Materials - March 12, 2024
- Fences and Pets: Pet Needs, Wood and Chain Link - December 12, 2023
- Garden Fence Selection: Privacy, Security, Style - October 10, 2023